

I had a question on what kind of printer and paper that I used to print out my digi images with. I print them out on Canon Pixma Matt Photo Paper, MP-101 and use a Canon ip2600 printer. I never could get the vibrant colors to print right on plain printer cardstock. When I changed to the matt photo paper the colors popped and were perfect! The right paper makes all the difference.
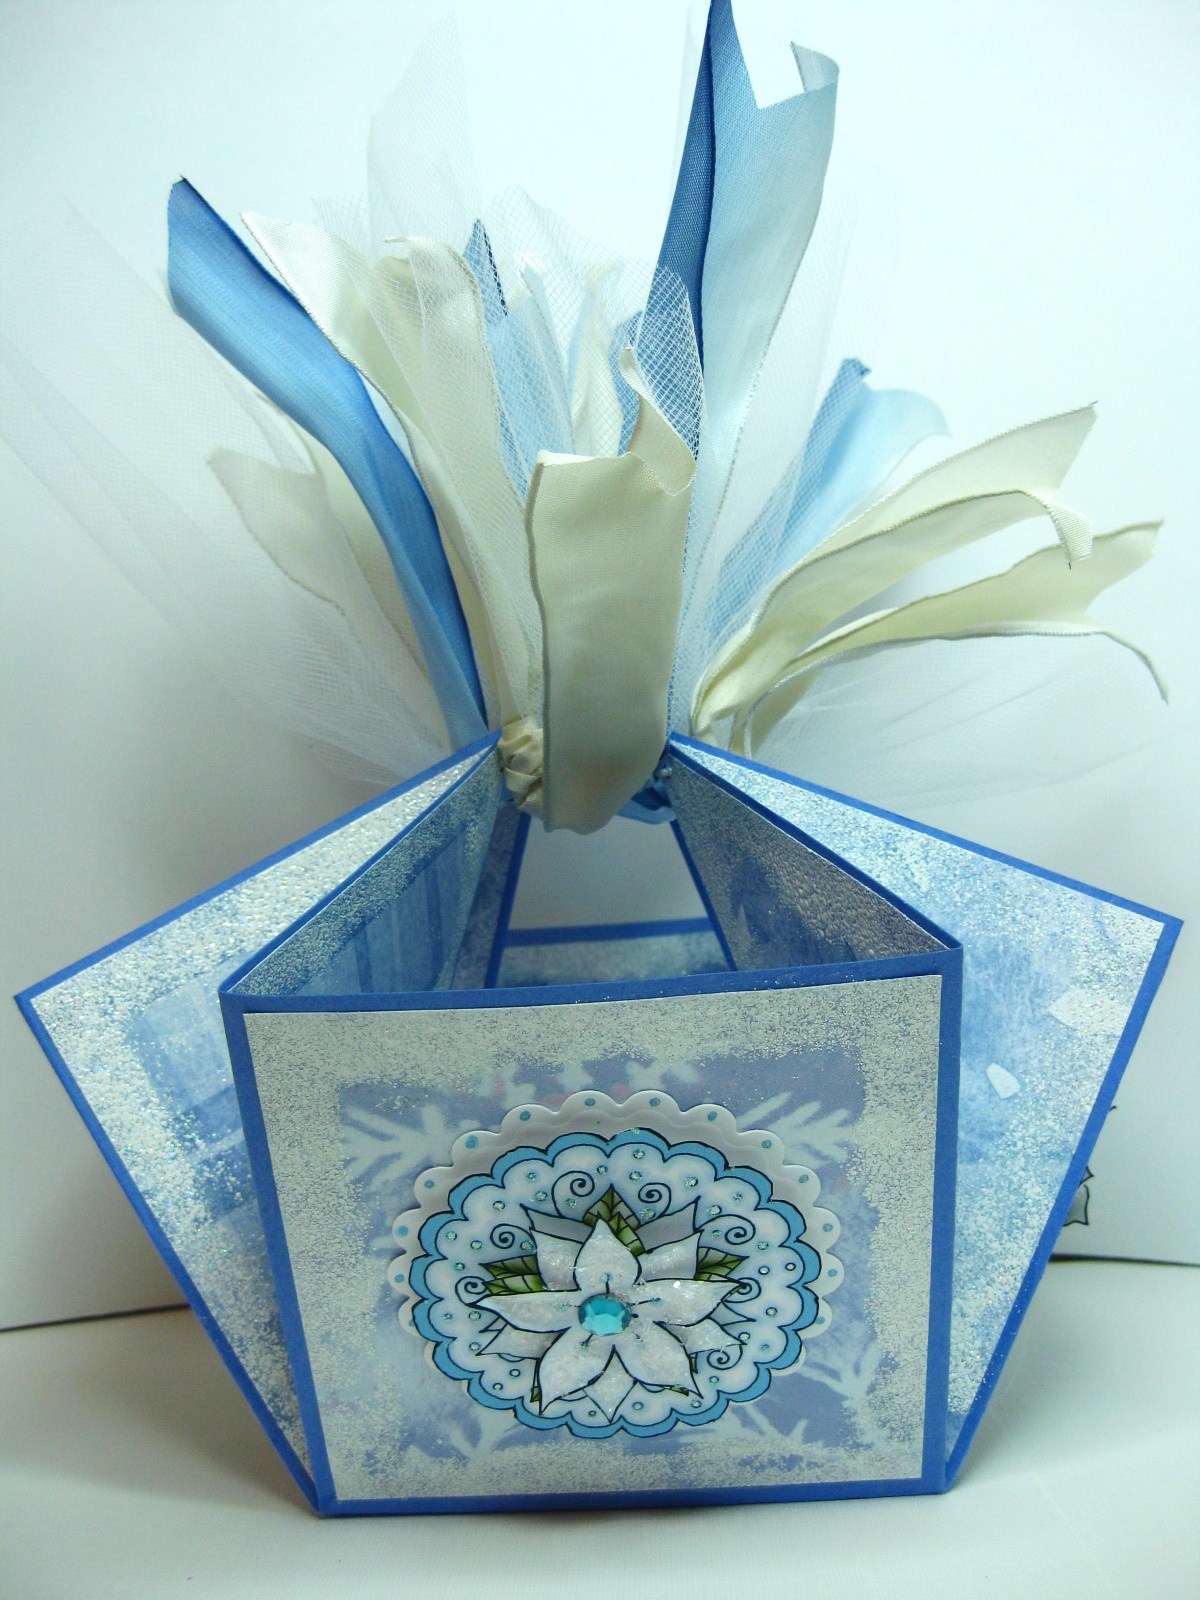
The panels are all embossed with a mix of white and silver holographic tinsel embossing powder and has a nice sparkle, which unfortunately the camera isn't capturing. The glitter on the flowers is Diamond Dust clear.

You can see the inside of the box in the above picture with the wire ribbons and tulle tied to the elastic that is holding the box sides up. I think I will go back and put more ribbons on the top as it isn't as full as hers. The tutorial link has a video also that shows how this is done. The box is roomy and would look great with homemade treats tied up in pretty cellophane in each of the sides. Or, put paper shreds in the bottom and fill the box with gifts of your choice. It is a very versatile box and could be embellished all sorts of fun ways! If you make one link a picture of it in the comments, I'd love to see it!!
If you haven't visited Fred's (Tracey) site lately, drop by and see her latest post and freebie, click here to see the cute angels! A lot coming up this week so drop back by for a visit. Thanks for all your encouragement on my last post, you will see more of the quilled jewelry!
Shalom,
Sonya
5 comments:
That is really lovely!
Superb work. Thanks for sharing.
Beautiful!!!
Blessed Christmas
and a Happy New Year!
Groetjes Baukje
What a fabulous job, this is beautiful!!
Please stop by my blog! I also made these boxes and I love your take on it!
raquelsdesigns.blogspot.com
Post a Comment